 how-to
How to Prevent Water Damage During Roof Work
Quick Summary
Plan roof work around a dry forecast, open only as much roof as you can cover the same day, and fit a temporary roof with a clear fall so water runs to the gutters. Protect gutters, downpipes and interior contents, and act fast on any leak. Good preparation prevents water damage roof work problems before they start.
- Postpone stripping if rain or strong winds are forecast for the first days after the roof is opened.
- Strip one slope or bay at a time and re-cover it before moving on.
- Fix temporary sheeting from the ridge down, lapping each sheet over the one below.
- Clear gutters and keep downpipes connected, or direct water into a drain or water butt.
- Photograph the roof, temporary cover and any internal damage, dated, to support an insurance claim.
Table of Contents
- Why Roof Work Creates a Water Damage Risk
- Step 1: Check the Weather and Plan Your Window
- Step 2: Set Up Safe Access with Scaffold Tower Hire
- Step 3: Install Temporary Roof Scaffolding and Covers
- Step 4: Protect Gutters, Downpipes and Interior Contents
- Step 5: Manage Leaks, Document Damage and Know When to Call for Help
- Booking Your Roof Work with Able Scaffolding Bath
- Frequently Asked Questions
Water can get into a roof and down through a house in hours, and water damage is a real risk during roof work. A stripped or partly open roof has no slates, tiles or felt to shed rain, so a shower that would do no harm on a finished roof can soak a ceiling, a plaster wall or a bedroom floor.
Last Updated: October 30, 2026
Why Roof Work Creates a Water Damage Risk
A roof works as a system. Tiles, underlayment, flashing and gutters each shed water and keep it moving away from the building. When one part comes off, the rest stops working the way it should.
Here is where the risk usually comes from:
- Exposed sub-roof: Once tiles or slates are lifted, rain can reach the battens, rafters and sarking felt directly.
- Open valleys and junctions: Lead valleys and flashings around chimneys are often lifted first, and they are a common entry point.
- Missing gutters: Water that cannot reach a downpipe runs down the wall or drips at the eaves, soaking masonry and window frames.
Most homeowners do not think about these points until a stain appears on a ceiling. Planning for water damage roof work before it starts is far cheaper than repairing the damage afterwards.
Step 1: Check the Weather and Plan Your Window
Pick the dates for roof work by looking at the forecast, not by convenience. Ideally, you want a run of several dry days, with no heavy rain or strong winds forecast for the first few days after the roof is opened.
Watch for these signs before you commit:
- Rain forecast for a large part of the window: Postpone the stripping stage until the roof can be closed in.
- High winds: Loose sheeting and tarpaulins can lift and tear, so avoid working on exposed sections in strong gusts.
- Overnight frost: Wet materials can freeze and crack, which makes fitting tiles and felt harder.
Work in short sections. Only open the amount of roof you can cover and weatherproof by the end of the day. A common mistake is stripping a whole slope on a dry morning and leaving the sub-roof open overnight.
Step 2: Set Up Safe Access with Scaffold Tower Hire
Safe access helps protect the roof and the building. Workers who can move around confidently are less likely to drop tiles, snap battens or leave gaps in the covering.
If your house is older or has a delicate finish, talk to your contractor before choosing the access method.
For a full overview of what the team can provide for roof access, see our scaffolding services for roof and chimney access.
Step 3: Install Temporary Roof Scaffolding and Covers
Once the roof is open, you need a way to keep water out until the permanent covering goes back on.

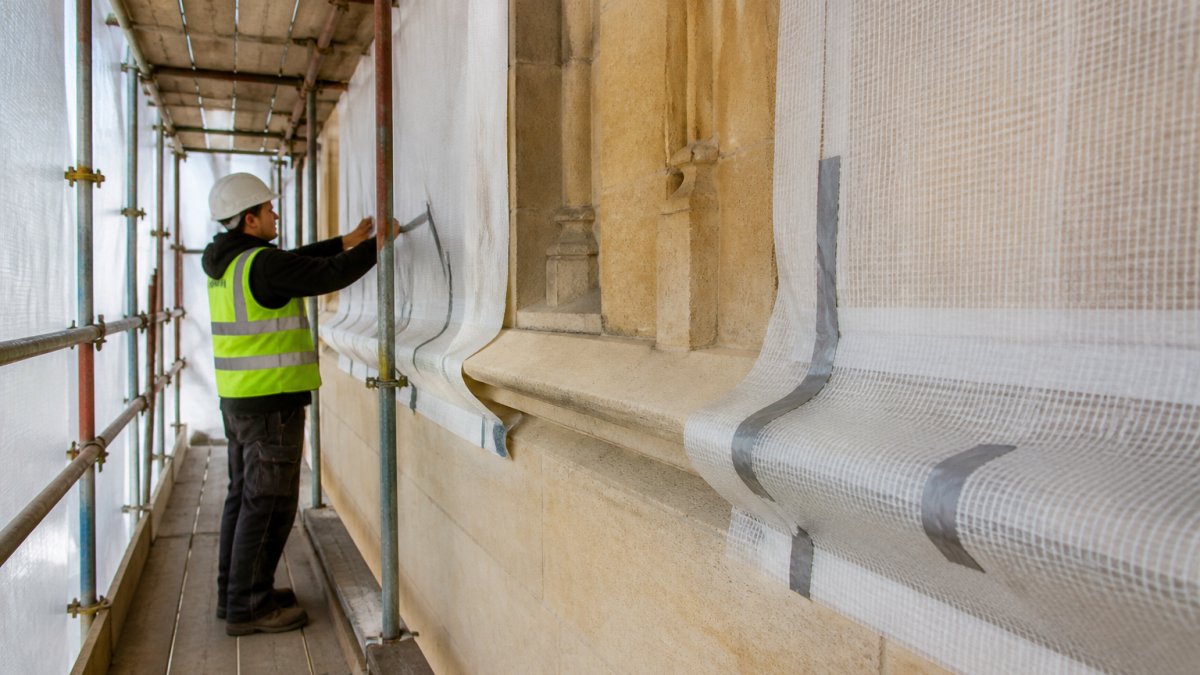
!Two workers in high-visibility clothing fixing a waterproof tarpaulin over a partly stripped pitched roof on a stone terraced house, scaffold tubes visible at the eaves
A good temporary roof should:
- Shed water away from the building, with a clear fall to the gutters so water does not pool
- Stay taut in wind and not flap or pool water
- Leave enough space for workers to move safely underneath
HSE guidance on working at height is a useful reference for the safety rules that apply to any temporary roof structure.
Tarping protocols for active roof work
When contractors are stripping and re-covering a roof over several days, the temporary cover has to survive real weather, not just a shower. A workable sequence is:
- Open only what you can close. Strip one slope or one bay at a time, and re-cover it before moving on. Never leave a whole elevation open overnight.
- Fix from the top down. Start at the ridge and work down to the eaves so overlaps shed water the right way. Lap each sheet over the one below.
- Secure the bottom edge first. Batten or weight the eaves edge so wind cannot get under the sheet and lift it. Then tension the top edge.
- Seal the vulnerable junctions. Ridges, hips, valleys and chimney flashings are where most temporary leaks start. Use purpose-made ridge covers or a second layer of sheet dressed over the junction.
- Leave a drainage path. Make sure water running off the sheet lands in a gutter or a temporary downpipe, not down the wall.
- Record the cover. Photograph the finished temporary roof each day; this becomes useful evidence if a leak is later disputed.
Debris management during roof work
Loose tiles, offcuts, mortar and packaging are a water-damage risk in their own right. Debris blocks gutters and outlets, and it can puncture or weigh down a temporary sheet. Agree a debris plan before work starts:
Free, no-obligation quotations →
- Use a chute or a designated drop zone rather than throwing material off the roof.
- Clear gutters and outlets at the end of every working day.
- Keep sharp offcuts away from sheeting, and sweep the temporary roof surface so water can run freely.
Choosing the right underlayment and tarping material
Temporary covers are only as good as the material you choose.
Do not rely on a single sheet laid loosely over the top. Gaps at ridges, hips and valleys are where most leaks start.
The table below sets out the main temporary-cover steps, the risk each one addresses and the practical check to make.
| Step | What to do | Check |
|---|---|---|
| Open only what you can close | Strip one slope or bay at a time | Re-cover before moving on |
| Fix from the top down | Start at the ridge and work to the eaves | Lap each sheet over the one below |
| Secure the bottom edge first | Batten or weight the eaves edge | Then tension the top edge |
| Seal vulnerable junctions | Cover ridges, hips, valleys and chimneys | Second layer over junctions |
| Leave a drainage path | Direct run-off to a gutter or temporary downpipe | Water must not run down the wall |
| Record the cover | Photograph the finished temporary roof daily | Keep as evidence for any claim |
Step 4: Protect Gutters, Downpipes and Interior Contents
Water running off a roof has to go somewhere. If gutters are removed or blocked, water will spill down the walls, soak the foundations and drip into the building.
Take these precautions:
- Clear the gutters first: Remove leaves and debris so water can flow to the downpipes.
- Keep downpipes connected: Where possible, leave them in place and check the joins.
- Use temporary drains: If a downpipe has to come off, direct the water into a drain or a water butt.
Interior protection matters as much as the roof itself. A small leak can ruin a sofa, a carpet or a set of books in one night. Clear the room first, then cover what remains.
Step 5: Manage Leaks, Document Damage and Know When to Call for Help
Even with good planning, leaks can happen. Act quickly when you see water, and treat the first hour as evidence-gathering as well as damage control.
Immediate steps:
- Turn off electrics in the affected room if water is near sockets or light fittings. If water is actually coming through a light fitting, switch off at the consumer unit and do not touch the fitting.
- Place buckets under drips and move contents out of the path of water.
- Use a wet-dry vacuum to remove standing water from floors.
- Check the temporary roof for loose edges and reposition the sheeting.
- Relieve ceiling water pressure safely: if a ceiling is bulging, pierce a small hole at the lowest point with a screwdriver and a bucket underneath rather than letting the plasterboard fail on its own. Switch off the room's electrics first, and stay clear of sagging sections.
Document everything for an insurance claim:
If you have buildings insurance, your insurer will usually ask for a clear evidence trail. Build it as you go:
- Take dated photographs of the roof, the temporary cover, and any internal damage before and after each shower.
- Photograph the source of the leak where it is safe to do so, and the path the water took.
- Keep a written log of weather conditions, the time you found the leak and the steps you took.
Know when to call a professional: Stop and call your roofer or scaffolder if you see:
- Water running down internal walls or pooling on ceilings
- Sagging or soft timber in the roof structure
- Damage to lead flashing or valleys that you cannot easily cover
Treating a leak as an emergency early on is much cheaper than waiting to see if it gets worse. If the leak is near electrics, gas appliances or a chimney, call a suitably qualified tradesperson rather than attempting a temporary fix yourself.
Booking Your Roof Work with Able Scaffolding Bath
Able Scaffolding Bath has over 35 years of experience in the trade, serving Bath and the surrounding areas. You can browse completed roof access projects across Bath and Somerset to see how similar jobs have been handled.
Our team can also provide drawings and site plans if your project needs them. For an accurate figure for your job, request a free, no-obligation quote.
Frequently Asked Questions
How do you keep a house dry when the roof is off?
Keep the exposed area covered at all times with a temporary roof system or heavy-duty tarpaulins secured to scaffolding, not to the damaged slates or tiles. Work to a daily routine: check the covers before rain forecasts, clear gutters and downpipes so water runs away from the building, and remove debris from the roof valleys. Move valuable furniture and stored items away from ceilings below the work area, and keep a wet-dry vacuum and absorbent materials on site so any water that gets through can be removed quickly. Pricing for temporary covers depends on the roof size, duration and access, so request a site-specific quote from Able Scaffolding Bath.
How long can a roof be left exposed during repairs?
There is no fixed safe period, because it depends on the weather, the roof pitch and how well the opening is protected. The safest approach is to limit exposure to the time needed for each stage, avoid leaving the roof open overnight in wet weather, and only strip sections you can make watertight the same day. Plan the work around a realistic weather window and check forecasts before starting each day. If a delay is likely, bring the temporary covers forward rather than waiting for the next dry spell.
What are the signs of water damage during construction?
Watch for staining or dark patches on ceilings and walls, bubbling or peeling paint, a damp or musty smell, dripping from light fittings, and sagging plasterboard. In timber, look for soft or darkened wood around the roof structure, rafters and wall plates. Check the attic and loft space after every heavy rain, and inspect the flashing around chimneys and valleys. If you spot any of these signs, cover the area, stop further stripping in that section and arrange for a professional inspection before the damage spreads.
How does scaffolding help prevent water ingress during roof work?
Scaffolding gives crews safe, stable access to the roof so the work can be completed without leaning on fragile slates or tiles, which reduces accidental breakage that lets water in. Properly erected scaffolding also allows a continuous temporary roof or sheeting to be fixed at the correct angle, so rainwater runs off rather than pooling. Able Scaffolding Bath can provide drawings and site plans to show how the access and covers will be arranged before work begins.